Choose the table's columns
Column changes are for everyone
The Clients table has one layout for the whole account. When you add, remove, rename or move a column, everyone in your account sees the change.
Hover over a column heading to see its ⋮ menu.
Add a column
- Open the ⋮ menu on the column next to where you want the new one.
- Choose Add Column Left or Add Column Right.
- Pick a field. Use Search custom fields... to find it.
- Click Add Column.
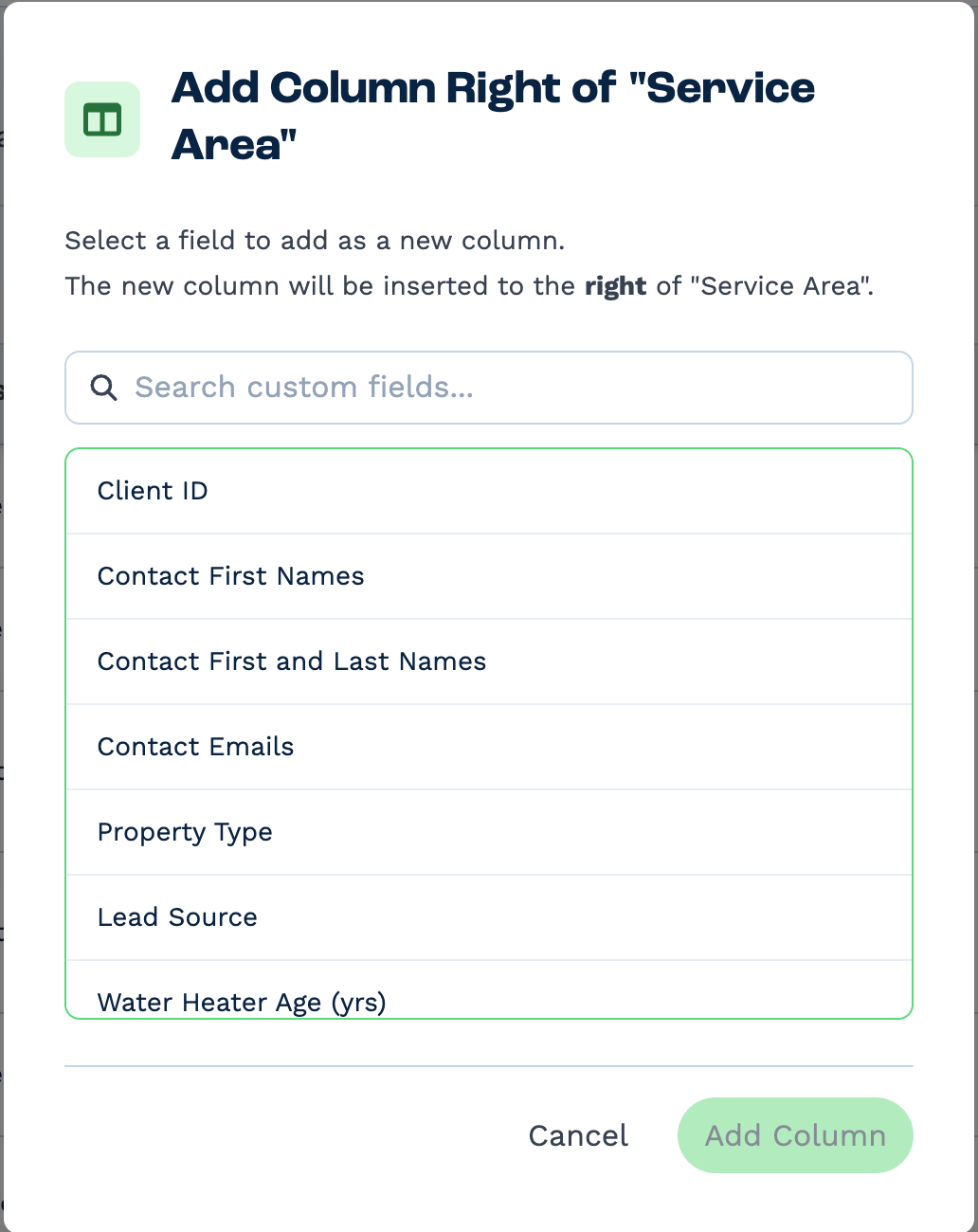
As well as your custom fields, you can add Client ID, Date Registered, Origin, Responsible Manager, Status, and the contact columns Contact First Names, Contact First and Last Names, Contact Numbers and Contact Emails.
Rename a column
Double-click the heading, or choose Edit Column from its menu. Type the new name and press Enter. Esc or clicking away leaves the name as it was.
Move a column
Drag the heading by its grip to where you want it.
Remove a column
Choose Remove Column from the heading's menu and confirm with Remove. Only the column goes — the information stays on every client and you can add the column back at any time.
Custom field columns above your Custom Field View Level are hidden for you, even when they're in the layout.