Client statuses
Who can do this
Anyone in the account.
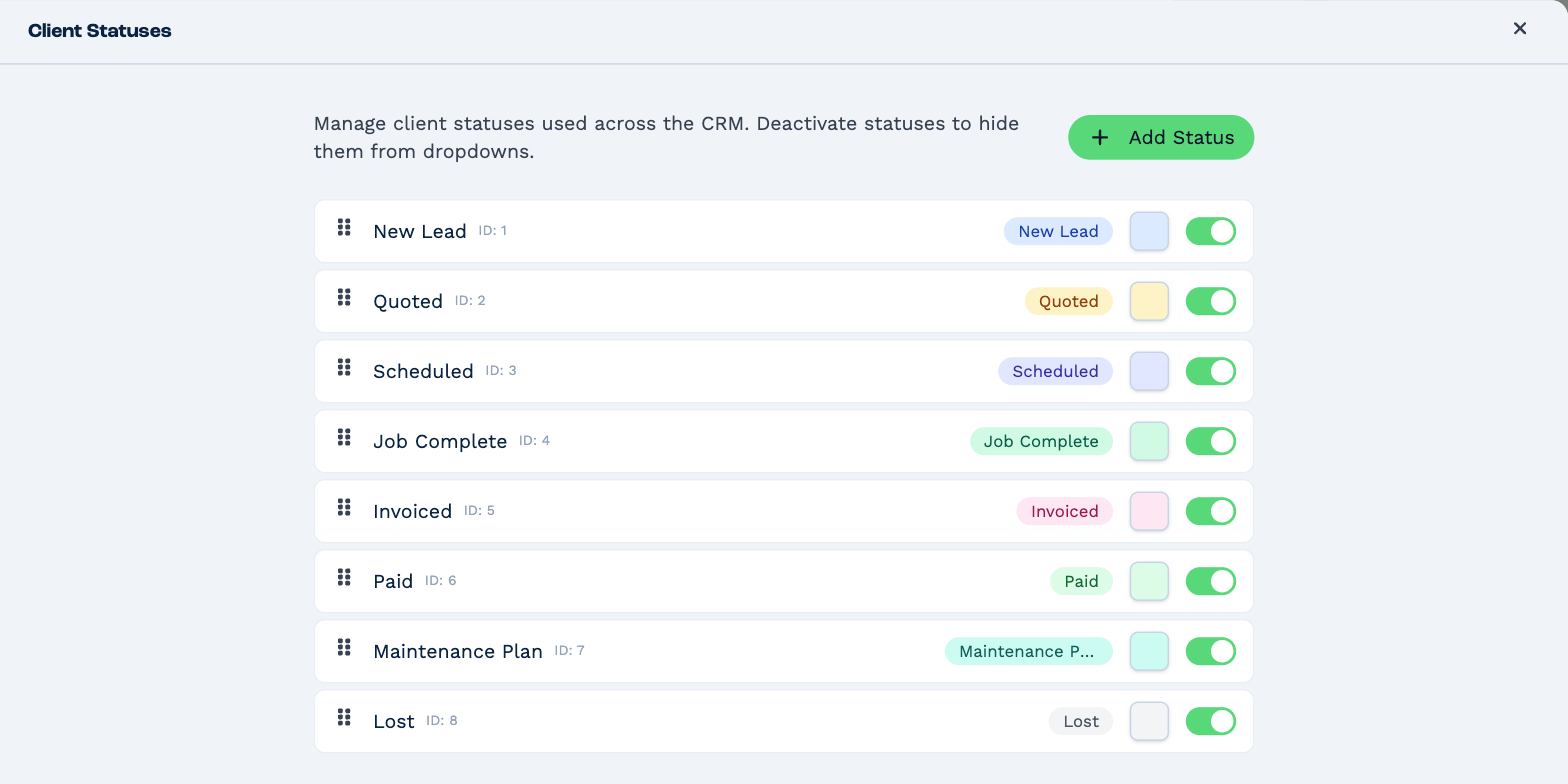
A client's status says where they are with you — at Neverland Home Services, from New Lead through Quoted and Scheduled to Paid. You choose the statuses, their colours and their order.
Open Settings → Client Statuses. Every change saves at once.
| To | Do this |
|---|---|
| Add a status | Click Add Status. A status called New Status appears at the bottom — click its name and type the real one. |
| Rename one | Click the name, type, and press Enter. |
| Change its colour | Click the colour swatch and pick one. BaseCloud chooses dark or white lettering to suit. |
| Reorder | Drag a status by its handle. This is the order they're listed in wherever you pick a status. |
| Retire one | Turn off its switch. |
Renaming and retiring
Renaming or recolouring a status changes it on every client that has it, straight away. Workflows that use the status carry on working.
Turning a status off takes it out of the lists you pick from — on a client, in the Clients filters, in a workflow task. Clients who already have it keep it, and still show it. To move them, filter the Clients page by that status first and change them in bulk, then turn the status off.
A status can't be deleted, only turned off.
The ID
The number under each name is the status's ID. It's what a client import and a workflow use to mean that status — so it stays the same when you rename the status.