Manage custom fields
Fields belong to your whole account: a field you add appears on every client, and a change affects them all.
Who can do this
Manage Custom Fields. Without it, the pencil and Add Field don't show.
Add a field
- Open any client and go to Custom Fields on the Details tab.
- Click Add Field.
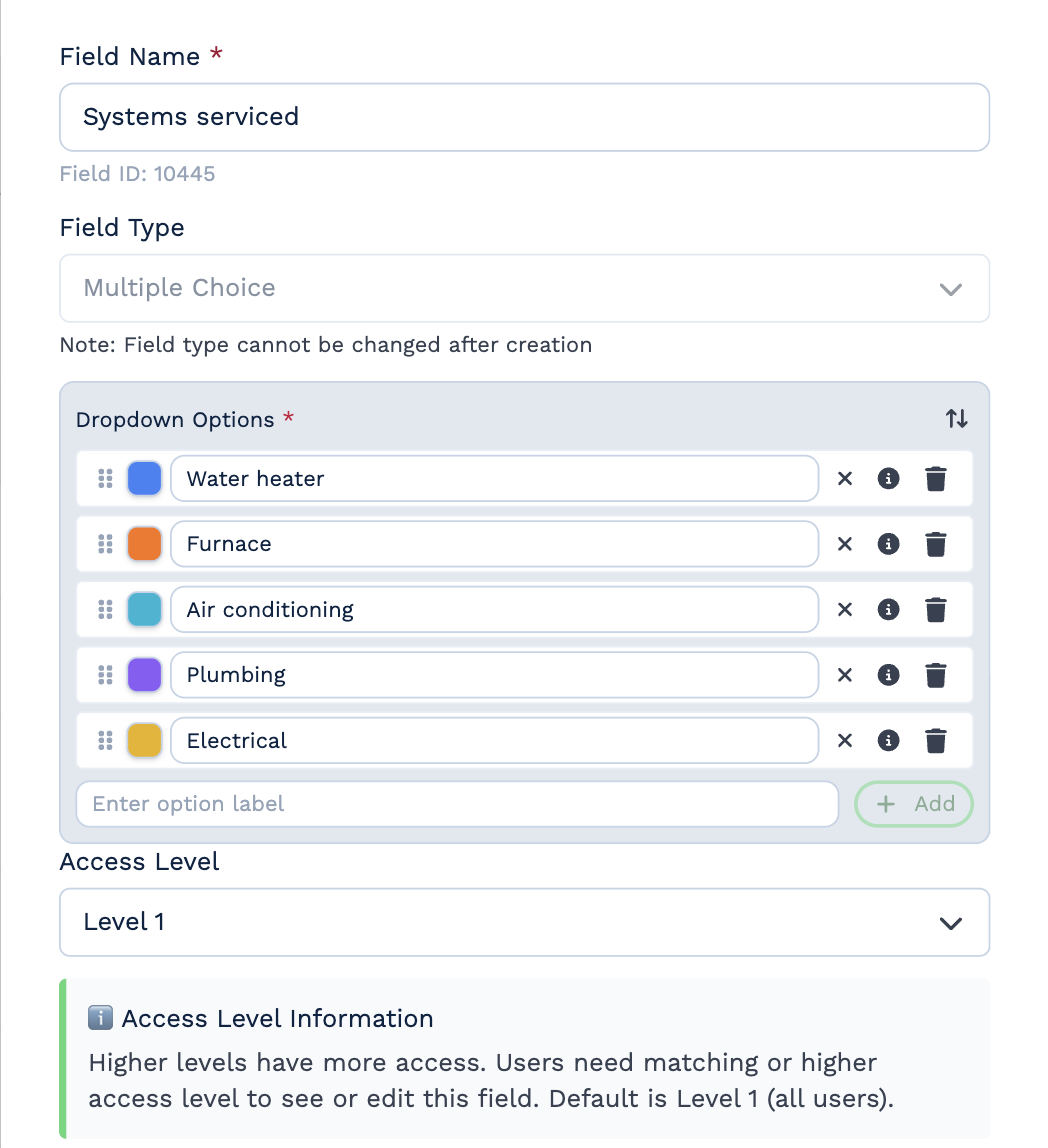
- Enter a Field Name.
- Choose a Field Type — see Field types. It can't be changed later.
- Fill in what the type needs:
- Single Choice and Multiple Choice — type each option and click Add. Drag options to reorder them, click Add colour to give one a colour, or Sort alphabetically.
- Currency — choose the Currency.
- Single User and Multiple Users — tick the Available Users people can pick from.
- Location — choose whether to Show a small map under the address, and limit suggestions to a country with Only suggest places in.
- Button — choose a Button Color and the Field Dependencies: fields that must have a value before the button can run. To make it do something, build a workflow that starts with a CRM Trigger set to Client Field Button Click and this field.
- Choose the Access Level — see Access levels. Level 1 is everyone.
- Click Add Field.
Change a field
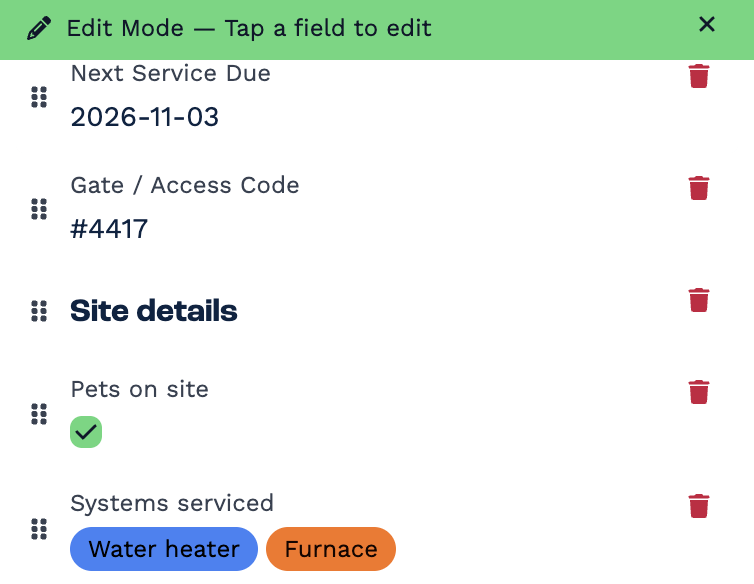
- Click the pencil next to Custom Fields. A green Edit Mode — Tap a field to edit bar appears, and each field gets a drag handle and a bin.
- Click the field you want to change.
- Change the name, options or access level, and click Save Changes.
Click the × on the green bar when you're finished.
If someone else changed the same field's options while you were editing, a red message asks you to refresh the client first, so you don't overwrite their changes.
Reorder fields
- Turn on edit mode with the pencil, and make sure Show Empty is on — the handles only appear while every field is shown.
- Drag fields by their handles.
The order is the same on every client.
Delete a field
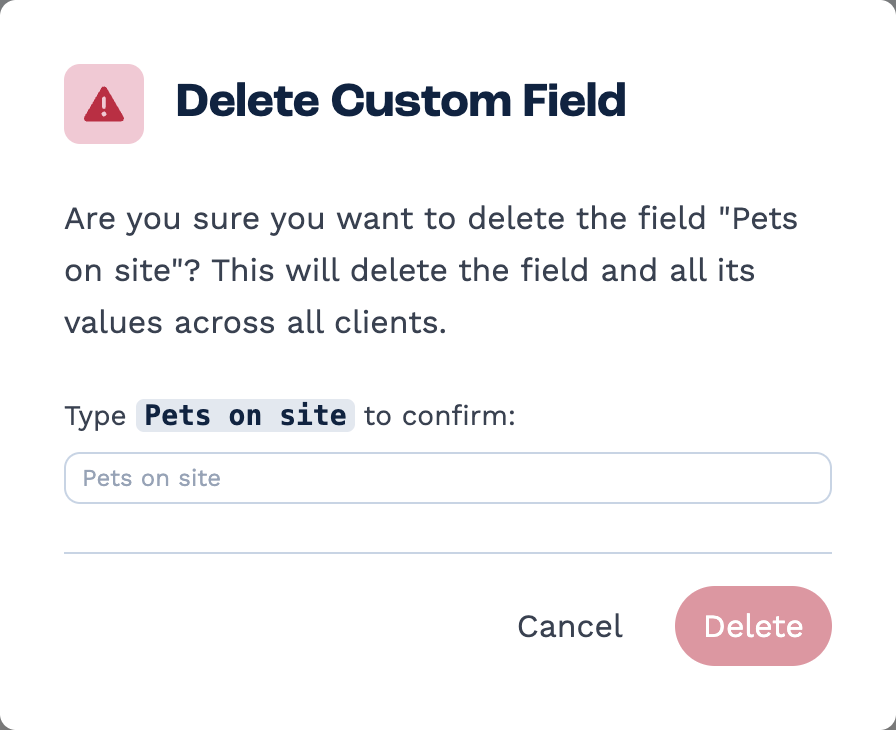
- Turn on edit mode with the pencil, then click the bin on the field.
- Type the field's name to confirm, and click Delete.
Deleting can't be undone
Deleting a field removes it and its values from every client, including any files saved in it, and takes it out of the Clients table. There's no way to get them back. An automation that uses the field stops working at that step. If you only want to stop using a field, raise its access level instead.