Set up tables and columns
Tables and their columns belong to your whole account. A table you add appears on every client, and changing or deleting a table or column changes it for them all.
Who can do this
Anyone with CRM Access.
Add a table
- Open any client's Tables tab and click a table, so the Custom Tables panel opens.
- Click Add Table at the top of the panel, enter a Table Name and click Create. (A group with no tables in it also shows Add Table on the Tables tab.)
- Open the new table. It says Add your first column to get started — click Add Column.
Add a column
- Open the table on any client.
- Click the ⋮ on a column heading and choose Add Left or Add Right. (On a table with no columns yet, click Add Column.)
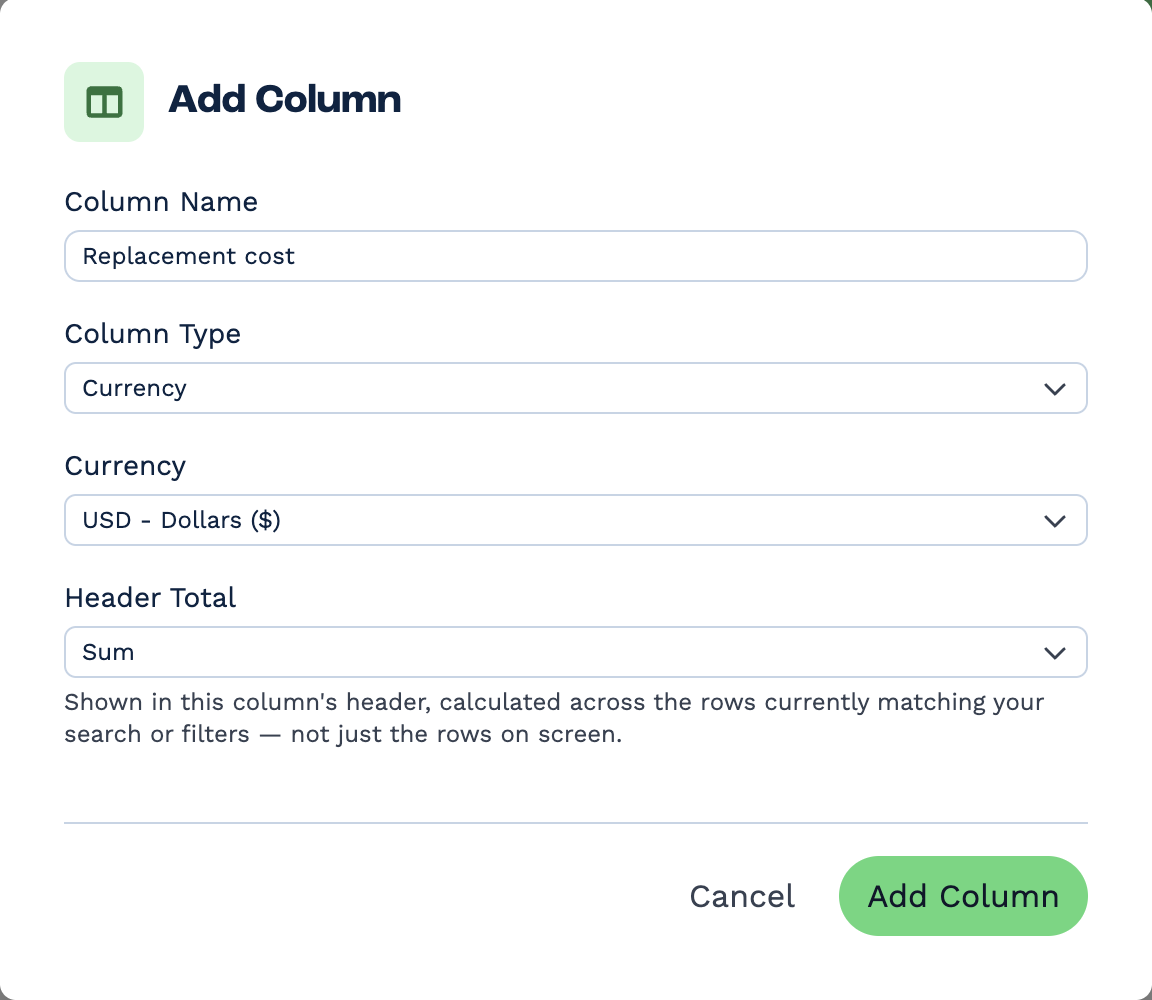
- Enter a Column Name and choose a Column Type. The type can't be changed later.
-
Fill in what the type needs:
- Single Choice and Multiple Choice — the options, with colours if you like.
- Currency — the Currency.
- Location — whether to Show a small map under the address, Only suggest places in a country, and Prefer places near a spot.
- Button — the Button Color and the Column Dependencies.
A user column offers the people on your account; there's no list to set up. 5. For Number and Currency columns, choose a Header Total: Sum or Average shows in the column's heading, worked out from every row that matches your search — not just the rows on screen. 6. Click Add Column.
Columns can be any of these types: Single-Line Text, Multi-Line Text, Number, Currency, Date, Checkbox, Single Choice, Multiple Choice, Single User, Multiple Users, Attachment, Attachments, Location and Button — see Field types. Columns have no access levels: everyone who can see the client sees every column.
A Button column puts a button in every row. To make it do something, build a workflow that starts with a CRM Trigger set to Custom Table: Cell Button Click and this column. Its Column Dependencies are the columns that must have a value in the row before the button can run.
Change columns
- Rename — double-click the heading.
- Change its settings — click its ⋮ and choose Edit Column. You can change the name, the options, the currency, the Header Total, and the button and location settings, but not the type. The window also shows the Column ID, which automations and support may ask for.
- Reorder — drag a heading left or right.
- Delete — click its ⋮ and choose Remove. Everything in that column, on every client, is deleted.
Rename a table or change its groups
Open the table and click its pencil. Change the Table Name, or tick the Groups it belongs to — see Groups.
Delete a table
Open the table, click its bin, type the table's name to confirm, and click Delete.
Deleting can't be undone
Deleting a table or a column deletes it, and everything in it, for every client. There's no way to get it back. An automation that uses it stops working at that step — see Custom tables in automations.