Work with table rows
Who can do this
Anyone with CRM Access who can see the client. Edit on several selected rows also needs Bulk Edit.
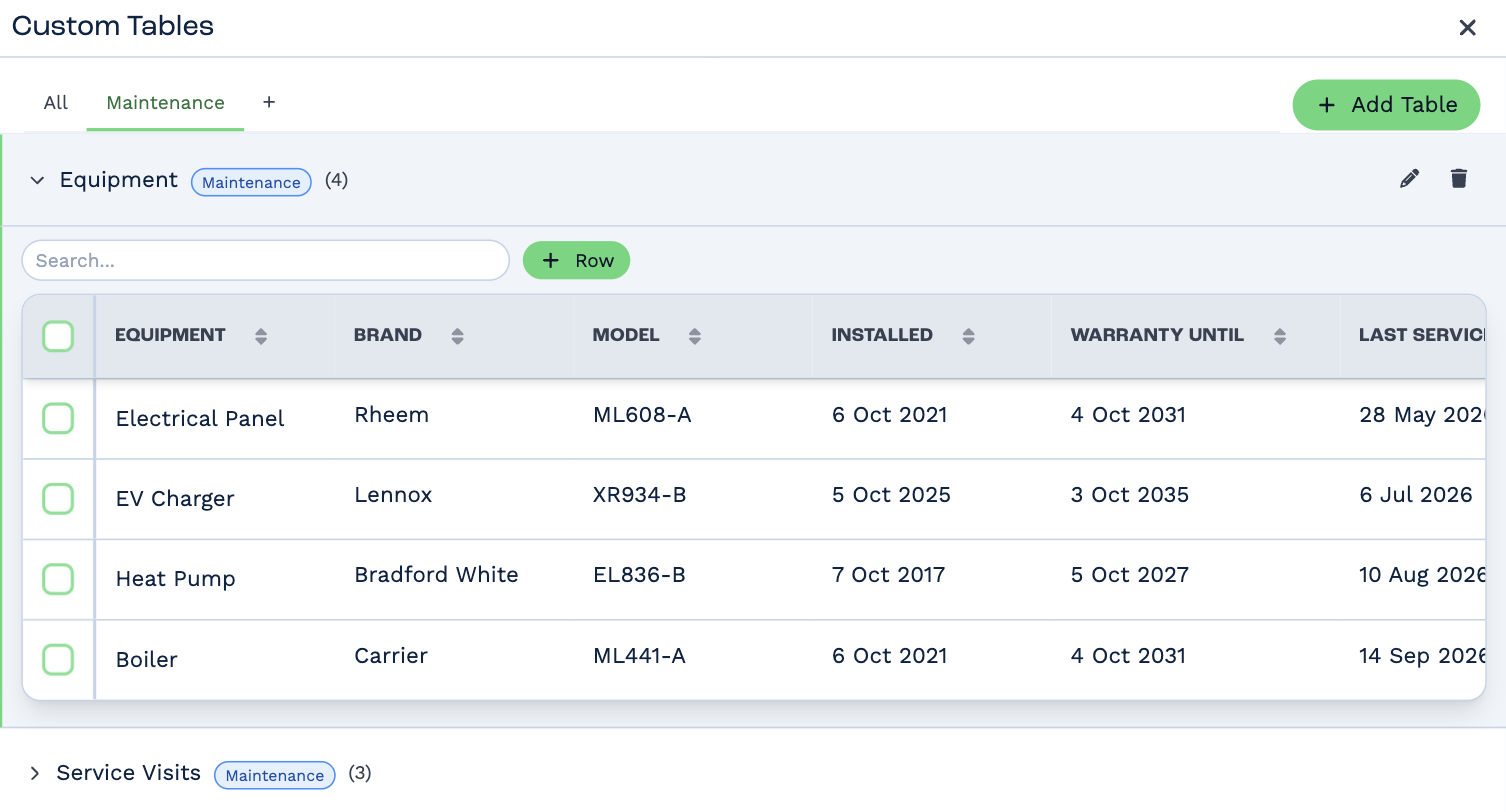
Open the client's Tables tab and click a table. It opens in the Custom Tables panel beside the client, with one row per item. Click another table's name in the panel to open it too.
Add a row
Click + Row. The new row appears at the top. Click each cell to fill it in.
Adding a row, or changing a cell, can start an automation your account has set up — see Custom tables in automations. Rows can also be added by automations, so you may find rows here that nobody typed in.
Change a value
Click a cell, change the value and press Enter or click away. Updated confirms it was saved. Cells are filled in the same way as custom fields of the same type.
- Tab saves and moves to the next cell; Shift+Tab to the one before. Esc cancels the change.
- In a multi-line cell, Enter starts a new line — click away to save.
- A text cell that holds just a web or email address shows as a link, with a pencil to change it.
Attachment cells
Drop files onto the cell, or click its upload icon (Upload file(s), Replace file or Add more files). Click a file to preview it. Removing a file asks you to confirm Delete Attachment, and deletes the file for good.
These files belong to the row: they don't appear on the client's Files tab, and deleting the row deletes them.
A button cell runs an automation for that row when you click it, in the same way as a button field.
Find and sort
- Type in Search... to show only rows that contain your text. Search looks in text, choice, number, amount and single-user columns — not in dates, locations, checkboxes, files or columns with several users.
- Click the arrows next to a column's name to sort by it, again to reverse the order, and a third time to go back to the usual order (newest rows first). Attachment, button and multiple-user columns can't be sorted.
More rows load as you scroll down.
Changes other people make — or automations — show up as they happen: new rows appear at the top with a green flash, changed cells flash, and deleted rows flash red before they go.
Change or delete many rows
-
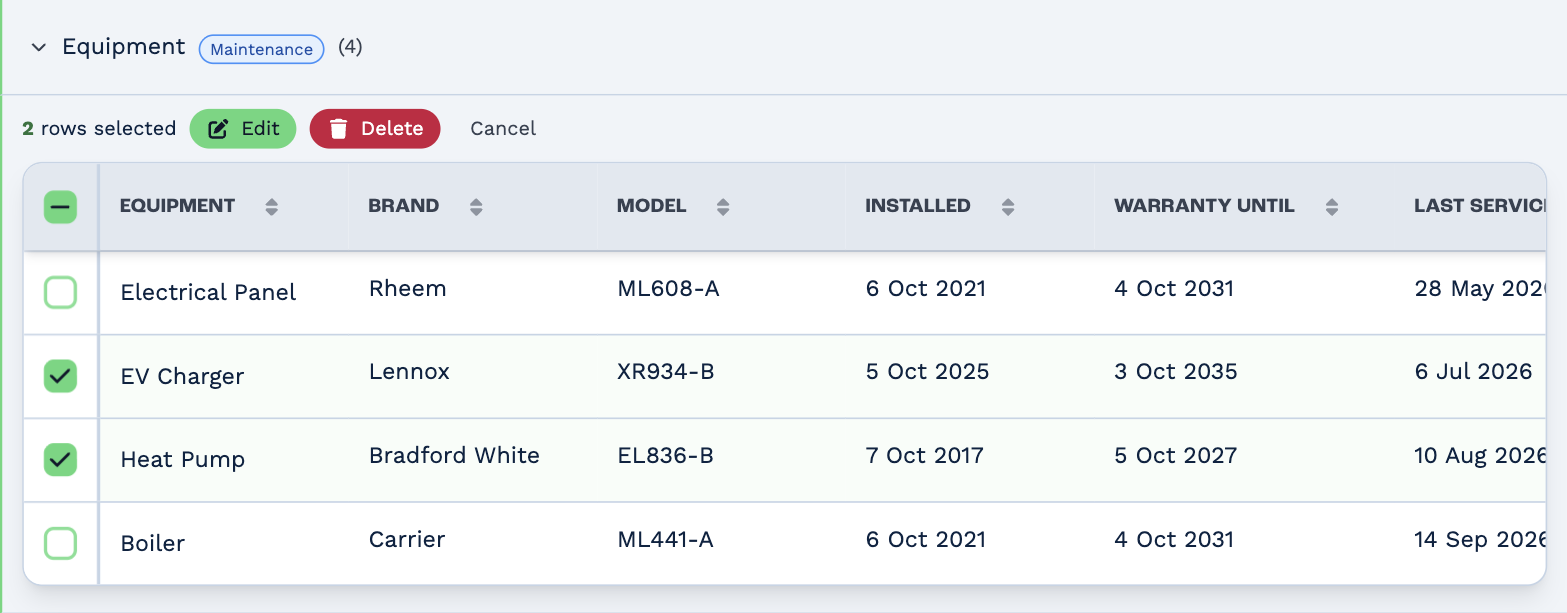
Tick the rows. A bar shows how many you've selected, such as 2 rows selected. Shift-click ticks a range and Ctrl-click (Cmd-click on a Mac) adds or removes one row.
To select everything, tick the box in the heading: the first click ticks the rows loaded so far, the second selects every row that matches your search — the bar then reads, for example, 40 of 40 selected — and a third clears the selection. 2. Choose what to do: - Edit — choose a column and the new value. Add another field changes more columns in the same go, up to 25. Click Confirm & Update. Attachment and button columns can't be changed this way. Needs Bulk Edit. - Delete — type delete to confirm. If you've selected every row with no search, you're asked to type delete all instead. 3. Cancel unticks them all.
Link to or delete one row
Right-click a row:
- Copy Link copies a link straight to the row — Link copied to clipboard confirms it. Whoever opens it lands on the client with the table open, the row scrolled into view and flashing. If the row has since been deleted, they see That row could not be found in this table.
- Delete Row deletes it after you confirm.
Deleted rows can't be brought back.
See what changed
Changes to a client's tables are recorded on its Activity tab — for example Table cell updated: Last Serviced, or Table row deleted — with who made them and when. See The client panel.